> For the complete documentation index, see [llms.txt](https://docs.forestall.io/fsprotect/llms.txt). Markdown versions of documentation pages are available by appending `.md` to page URLs; this page is available as [Markdown](https://docs.forestall.io/fsprotect/configuration-center/gcp-configurations.md).
# GCP Configurations
{% content-ref url="/pages/vssxMMlRnoWFhJPcB3RP" %}
[Configuration With Google CLI](/fsprotect/configuration-center/gcp-configurations/configuration-with-google-cli.md)
{% endcontent-ref %}
{% content-ref url="/pages/aLzgBgmWGijjlYcp6WZ4" %}
[Configuration With Google Cloud Platform](/fsprotect/configuration-center/gcp-configurations/configuration-with-google-cloud-platform.md)
{% endcontent-ref %}
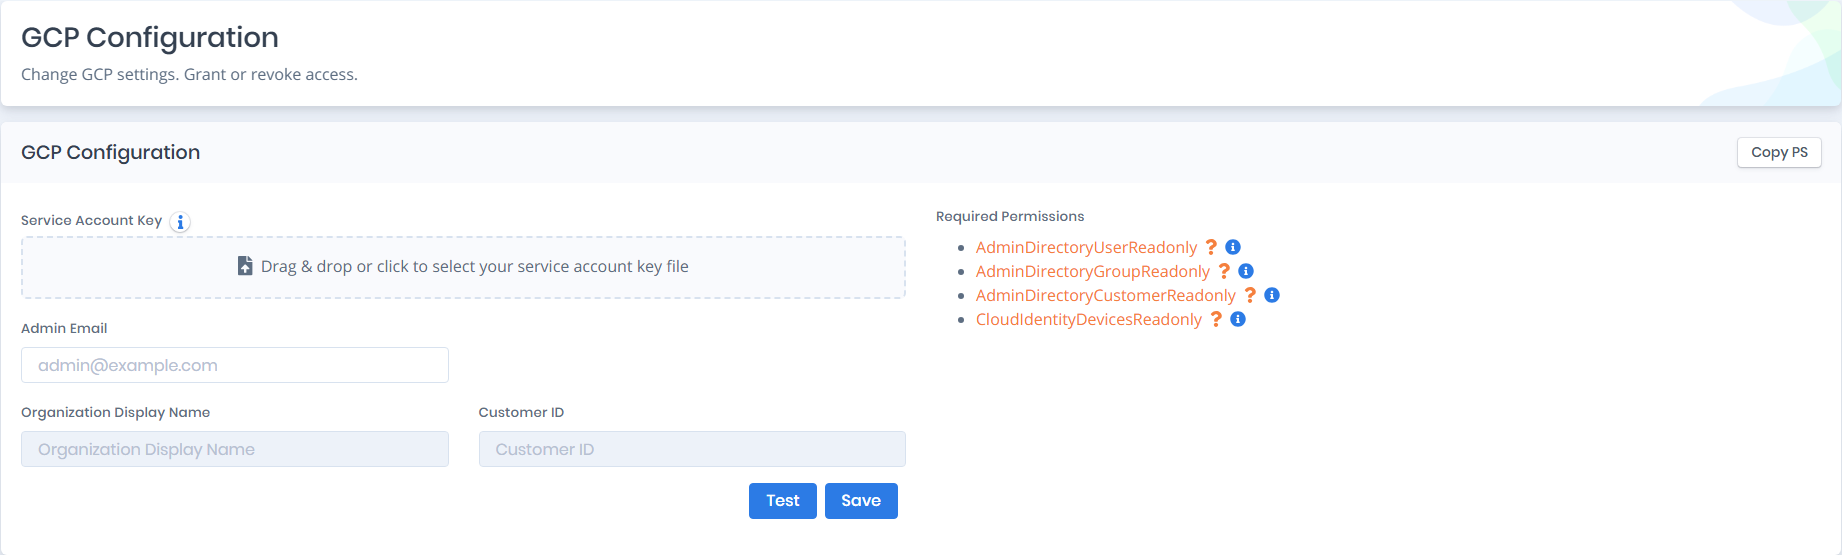
Once you have finished the configurations above, proceed to the Forestall GCP Configuration page. You will need to complete several required fields on this page before initiating a scan.
GCP Configuration Page
### 1. Upload the Service Account Key
The most critical part of this page is the `.json` file you generated earlier.
* Locate your file: Find the `forestall-scanner-sa-key.json` file on your computer (the one you downloaded from Cloud Shell).
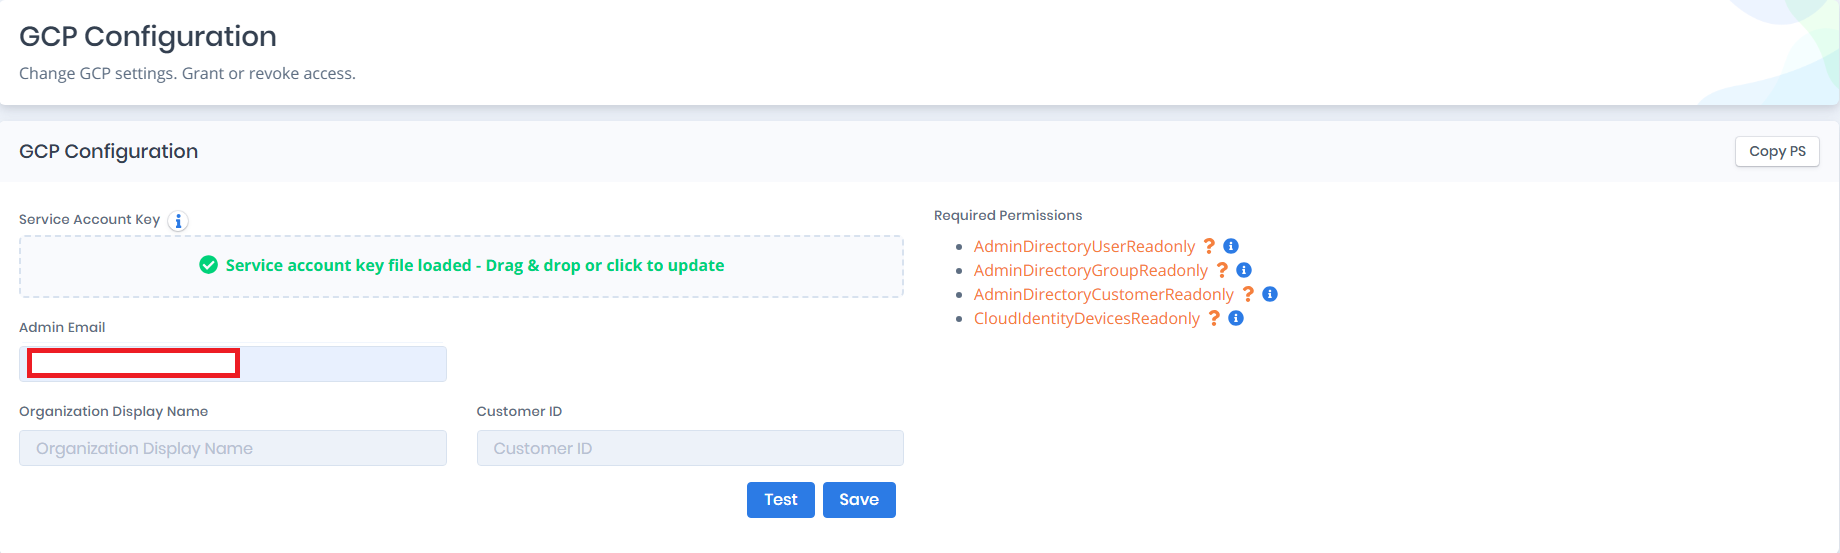
* Action: Drag and drop this file into the box labeled "Drag & drop or click to select your service account key file."
* Purpose: This allows the application to authenticate as the Service Account and perform the scanning tasks defined by the roles you granted.
GCP Configuration With Uploaded Service Account Key and Admin Email
### 2. Enter Admin Email
* Field: Admin Email
* Action: Enter the email address of a Super Administrator for your Google Workspace/Cloud Identity account.
* Why? The "Required Permissions" listed on the right (like `AdminDirectoryUserReadonly`) often require Domain-Wide Delegation. The app uses this email address to "impersonate" an admin to read your user and group directories.
### 3. Organization & Customer Details
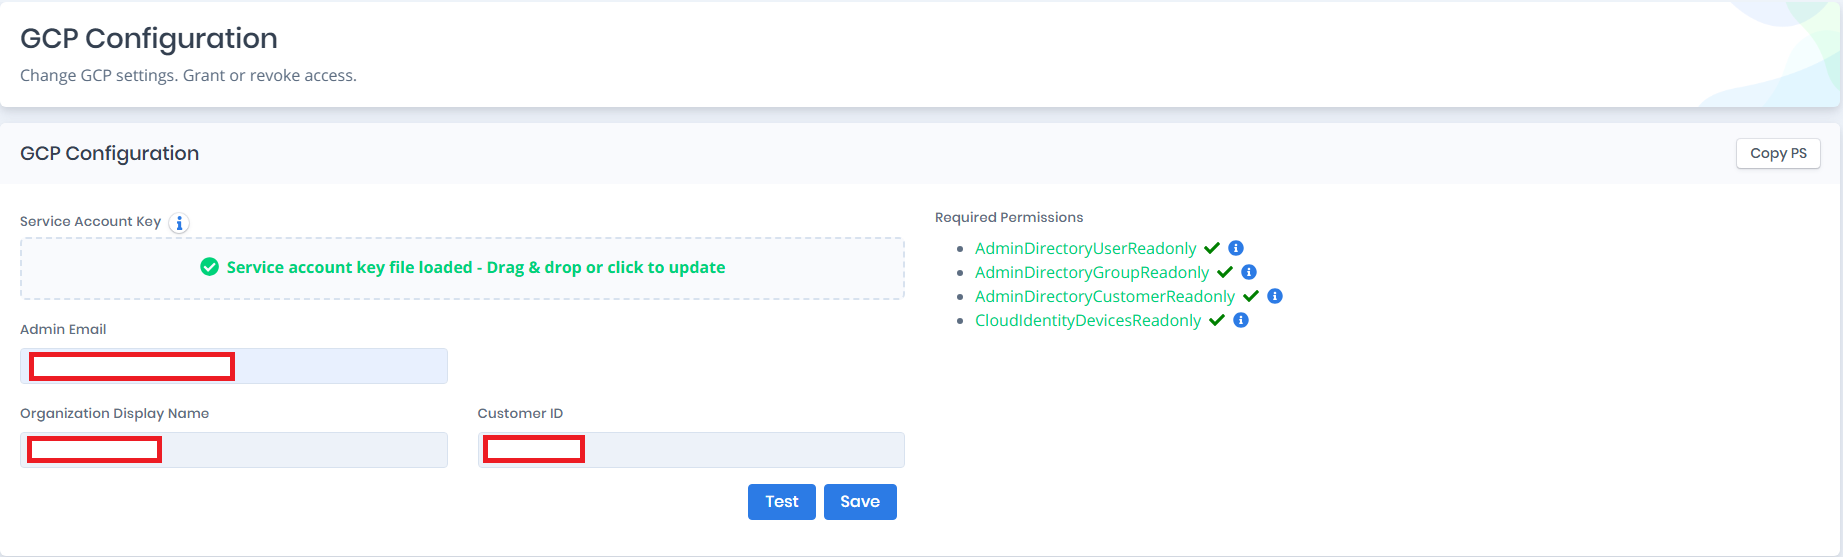
GCP Configuration After Tested
* Organization Display Name: Enter a friendly name for your company (e.g., "My Enterprise Org"). This is for internal labeling only.
* Customer ID: \* This is a unique identifier for your Google Workspace account (usually starts with `C`).
* How to find it: Go to the [Google Admin Console](https://admin.google.com/) > Account > Account Settings. Look for the "Customer ID" field.
### 4. Verify the Requirements Panel
The panel on the right lists everything the scan needs, in three groups. Each entry has a help link explaining what it is for, and is shown in red until it has been granted or enabled.
#### Required Permissions
The Admin SDK and Cloud Identity scopes the service account must be able to use through Domain-Wide Delegation:
* `AdminDirectoryUserReadonly`: To see user accounts.
* `AdminDirectoryGroupReadonly`: To see group memberships.
* `AdminDirectoryCustomerReadonly`: To see organization-level settings.
* `CloudIdentityDevicesReadonly`: To see managed devices.
* `AdminDirectoryOrgunitReadonly`: To see the organizational unit structure.
* `AdminDirectoryRolemanagementReadonly`: To see the admin roles and who holds them.
* `AppsGroupsSettings`: To see group access settings, such as who may post to or join a group.
#### Required Roles
The IAM roles the service account must hold at the organization level:
* `roles/browser`: To walk the resource hierarchy.
* `roles/cloudasset.viewer`: To read the asset inventory.
* `roles/resourcemanager.folderViewer`: To see folders.
* `roles/policyanalyzer.activityAnalysisViewer`: To see which permissions are actually being used.
* `roles/iam.organizationRoleViewer`: To see custom organization roles.
* `roles/iam.securityReviewer`: To read IAM policies across the organization.
* `roles/serviceusage.serviceUsageViewer`: To see which services are enabled.
#### Required Services
The APIs that must be enabled in the project the service account belongs to:
`iam.googleapis.com`, `admin.googleapis.com`, `cloudidentity.googleapis.com`, `cloudresourcemanager.googleapis.com`, `serviceusage.googleapis.com`, `policyanalyzer.googleapis.com`, `cloudasset.googleapis.com` and `groupssettings.googleapis.com`.
> If these items have orange question marks or red icons, it means you may still need to enable the API in your Google Cloud Project, grant the role, or set up Domain-Wide Delegation in the Google Admin Console for your Service Account's Client ID.
The **Copy PS** button at the top of the page produces a script that enables the required services and grants the required roles, so the panel can be satisfied in one run rather than item by item.
***
### 5. Test and Save
1. Click "Test": Before saving, click the blue Test button. This triggers a dry-run connection using the key and the Admin Email you provided.
2. Success Check: Look for a green success message. If it fails, double-check that the `admin.googleapis.com` and `cloudidentity.googleapis.com` APIs are enabled in your GCP project.
3. Click "Save": Once the test passes, click Save to finalize the configuration.